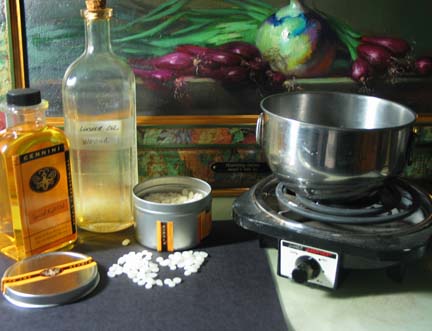
 All the supplies necessary for the paint making project have been gathered on the workroom counter. Hotplate, double boiler, linseed oil, and beeswax beads. I have decided to use wax in some paint and not in others. If a “long” almost runny paint is desired, the use of wax is limited. To get a “short” buttery paint then more wax should be used. To prepare the linseed oil with wax, heat 7oz. gently (do not overheat or it will darken), add 1oz. of white beeswax beads until fully melted. Mix in 24 more ounces of linseed oil after the solution has cooled. Let stand for 24 hours before use. This is called a binder.
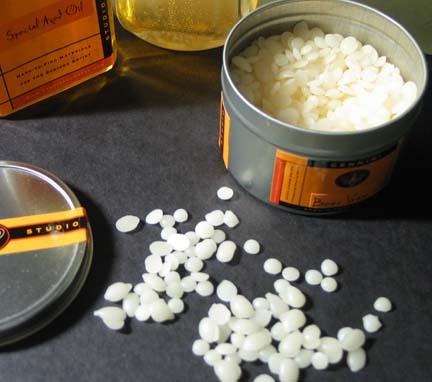 Here you can see the pure white beeswax beads from Studio Products. After the linseed oil was quite warm, I added the wax which slowly melted. When the mixture cooled the oil had a very cloudy look to it.
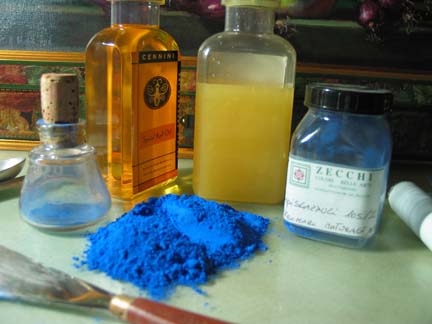
Here you can easily see the cloudiness of the oil in the center bottle and compare it to the amber colored oil on the left. The technique of preparing the oil binder is clearly explained in Mark Gottsegen’s book, The Painter’s Handbook.
This beautiful pigment is a stash of Lapis 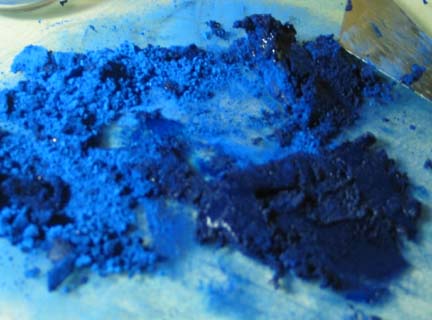 Lazuli I have been hoarding since our trip to Italy in 2003. I purchased a 50 gram bottle along with many other art supplies at Zecchi’s in Florence, Italy. It was far and away the most expensive pigment I have ever purchased, at something like 42 Euros per 10 grams. But as you can see, the color is astonishing and irresistible. Of course, when I purchased it I had no idea it would be used for this exciting Dutch project.
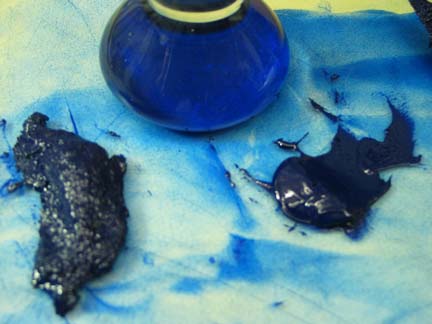 The next step is to predisperse the pigment with as little oil as possible into a course paste. It is critical to not add too much oil at this point. After it is wet, take about one heaping teaspoon of the pigment at a time and grind with the glass muller on a prepared slab. Grind each small pile in a figure eight motion until all the wet pigment is fully mulled and has a plastic feel; then mix all into one pile. The object here is not to actually “grind” the pigment but to disperse all of the oil evenly throughout the pigment mixture.
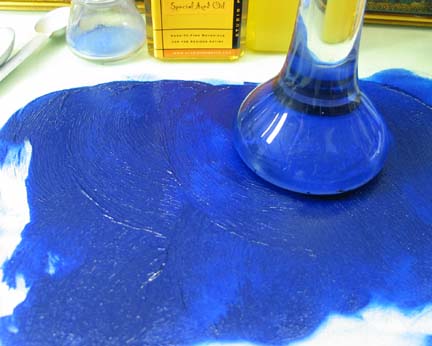 The muller is pulled back and forth over the surface of the slab in a circular and figure eight motion. You can see there is a thin layer of the pigment all across the surface. After some time the paste has a shiny look to it and begins to look more like paint. This so far has taken about 45 minutes, so you can see it can be laborious. I think I will do 2 or 3 pigments per day.
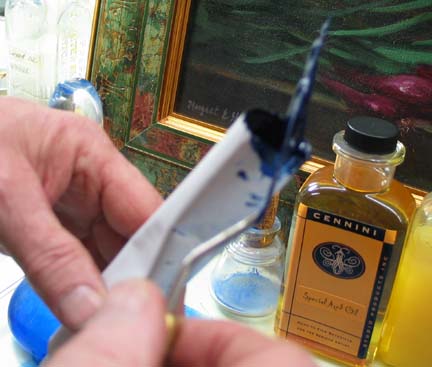 Here is the final lap. Using the appropriate size tube, place the finished paint into the bottom opening. Scrape a small amount onto the palette knife and carefully insert into the tube about 2/3 full. Tap gently to allow the paint to settle and crimp the end closed. Label each color carefully with detailed information about the pigment and where it was purchased.
